A website is one of the most important components of an internet business. A website truly becomes an extension of your company and is essential to the long-term health of your organization.
“Why do I need a website?” you may ask. To which I respond (and I get the question frequently), if Facebook went away tomorrow, and your entire business was built on traffic from Facebook, where would you be?
You guessed it, back to square one. It’s happened to many people. One day they’re driving traffic with Facebook, and the next day their account is either suspended or banned. I’ve seen it happen, and you don’t want to be solely relying on any one traffic source. Even if you don’t use Facebook, the fact is you never want to rely completely on one source of traffic.
Rather, if you have a website, and social profiles, and an email list, etc. you diversify any potential risk of having the rug pulled out from under you.

Now, we feel utterly daunted by the idea of needing a website. I need content, pictures, and time. All things I don’t have. Rest assured my friend, it’s not as difficult as you may think, and I’m going to walk you through it right now. In addition, it’s better to do the work now, rather than have your business fall flat later because your one traffic source dries up. Let’s look at some of the different options.
WordPress
This is my favorite option, and it’s one of the most cost-effective. WordPress.org offers the best CMS (content management system, in my opinion) and there’s thousands of plugins to customize your site. To start, you will need to buy a domain. If you have hosting for your website already (and if you don’t know what hosting is, I’ll cover that in a minute), you can go over to Godaddy.
Once on the site, start by testing the ideal name of a site you’d like, for example let’s say Gene’s Taco Bar. Start with the version of the name you would prefer (for instance, genestacobar.com), if this is taken, try another variation. You should be able to pick up a domain for no more than $20.00. Anything more than that isn’t going to be worth the investment, unless it is a super competitive niche.
Once you have your domain name, you can transfer your name to your hosting account, download WordPress, and get started. A host service is going to be a company like Bluehost, Hostgator, Godaddy and dozens of others. What these companies will do is they will place the source code files for your site on their servers for either a monthly or yearly fee. This needs to be done so that other people can view your site.
 Now, if you need hosting as well as a domain name, I would recommend going with either Bluehost or Hostgator, because when you buy a hosting package they include a free domain name (why pay for something that’s free?). When you go through the host plan selection process on the site, you’ll have the opportunity to choose what domain name you would like to register.
Again, pick a name that’s relevant to your business, with your main keywords in it if possible, and make sure to have some variations. After you have purchased hosting, you’ll be prompted to select how you would like to build your website (Drupal, Joomla, etc.). Select WordPress, and follow the steps to install it on your domain.
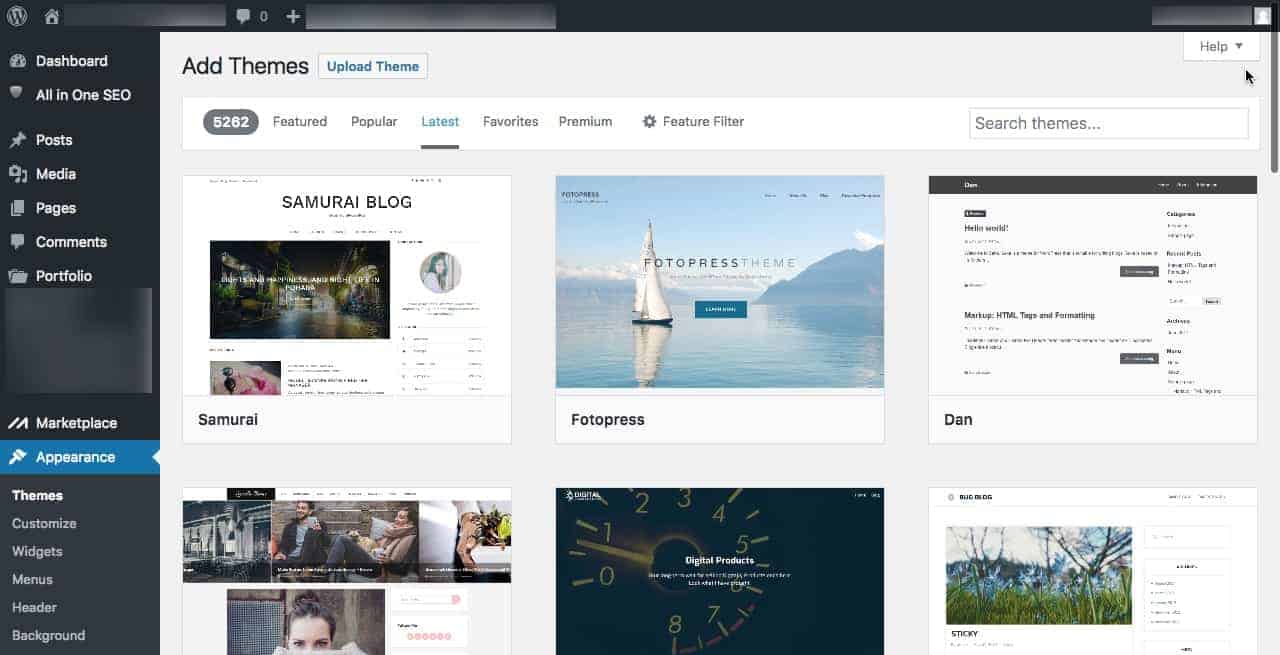
Once WordPress is set up on your site, there are only two main tasks left to do, selecting a theme, and placing content on your site. To select a theme, simply go to Appearance and click on Themes. Here, you can search for whatever style of theme (using keywords) you want, or browse other popular themes that others are using. Either way, once you select one, click on it to install, and then click activate.
Once your theme is installed, you can select Appearance, Customize to change colors, fonts, sections, and more about your chosen theme (most themes have a lot of options to choose from when it comes to how the theme will display). You can also add plugins which change the way that the page is displayed.
For creating content, first, map out how your site is going to look. What content will live where on the site? Also, content doesn’t just mean written content, it can also mean images, GIFs, infographics, videos, and so much more! Know the pages and what types of content you’ll need on each page.
Then, it will make it easier to create. If you need pages written fast, you can always use Fiverr if you don’t feel like you can write something quickly. The thing about content is you can always be adding to it.
You’ll never reach a point where you say, “My website is done. I have nothing more to say.” Don’t let this fear of not having content (or as much as you would like) keep you from moving forward. Fear is one of the most powerful forces that keeps us from true happiness. Don’t let yourself be a slave to fear.
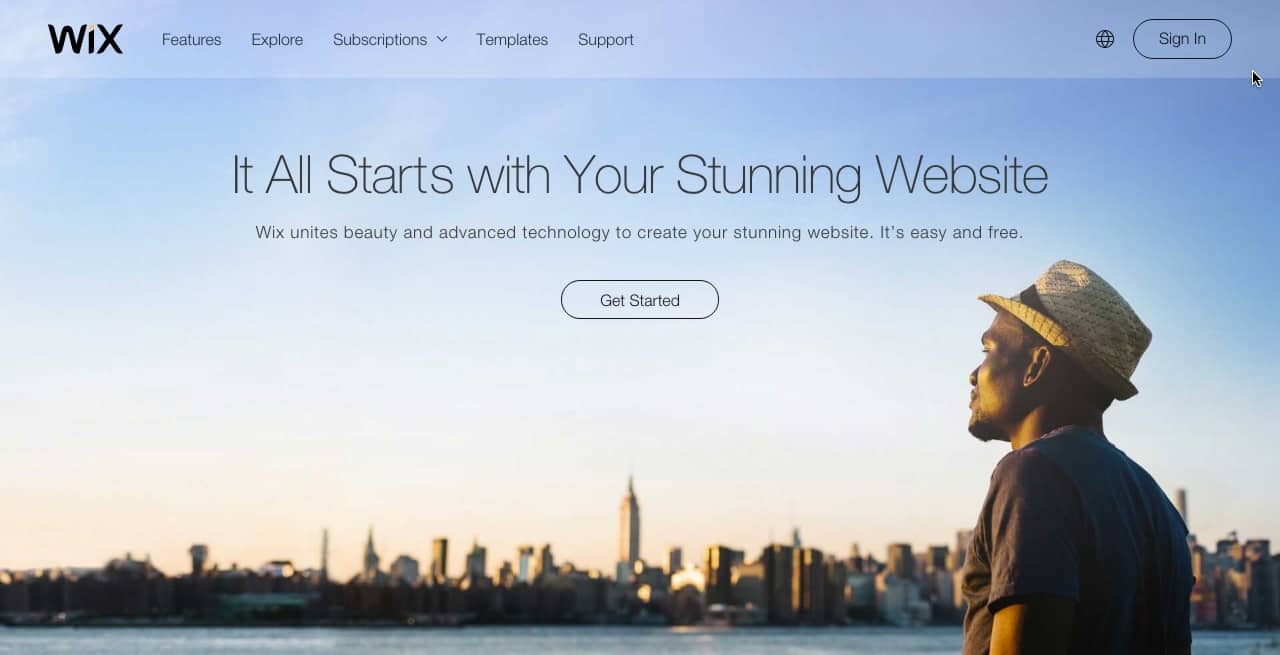
Wix and Squarespace
If WordPress isn’t your thing, there are other options available. For example, you could consider a service like Wix or Squarespace. With either of these options, you can have your own domain, or you can use one of their domains (yoursite.wix.com).
These sites will not only help you with design/layout, they will also take care of hosting as well. However, these sites do come with a monthly fee (depending on what you’re using it for, it can be anywhere from $7.00 to $46.00 a month). These services can be helpful for getting a site up quickly, however, it’s difficult to do optimize (for SEO) these types of sites, because your options will be limited. In addition, someone else owns the code for your site. This means that you can’t take it and move to a different company.
Custom HTML
Another option is to hand-code your website (if you know HTML or PHP). If you decide to hand-code your website, it’s helpful to start by doing a mock-up of the design. By doing this, you can arrange elements and get an idea for the feel and flow before you start coding. In addition, decide on what colors, images, logos you want beforehand to make the process easier. While you can always change it afterwards, it makes the process easier.
Even if you don’t decide to hand-code your website, having a baseline knowledge of HTML will make it much easier when you need to make changes to your site (without having to call a developer). Here are some great resources for learning HTML:
All of the resources above are free and present the information in an easy to understand format. Which ever method you choose, you need to have a website.
Setting Up Google Analytics and Google Search Console
Once your website is set up, the next step is to add Google Analytics and Google Search Console (formerly Google Webmaster Tools). By having Google Analytics set up, you’ll be able to track who visits your site, what pages are viewed, how long people stay on the site and be able to tailor your content based on these metrics.

To set up your site with Google Analytics, visit https://analytics.google.com, create an account (if you don’t already have one), and follow the sign up steps to get your tracking code. The time to set this up will take you less than 5 minutes. Once you have your tracking code, follow the instructions of what section of your site to add it to, and make sure it’s on every page.
If you’re using WordPress, there are several plugins that will add the code onto your website for you, or you can edit the code in WordPress (which isn’t recommended). If you’re using Squarespace or Wix, there are fields where the Google Analytics code can be added. If you hand-coded your website, you can just follow the directions from Google about where to add the code. Once you’re set, you can log into Google Analytics and see who’s visiting your site.
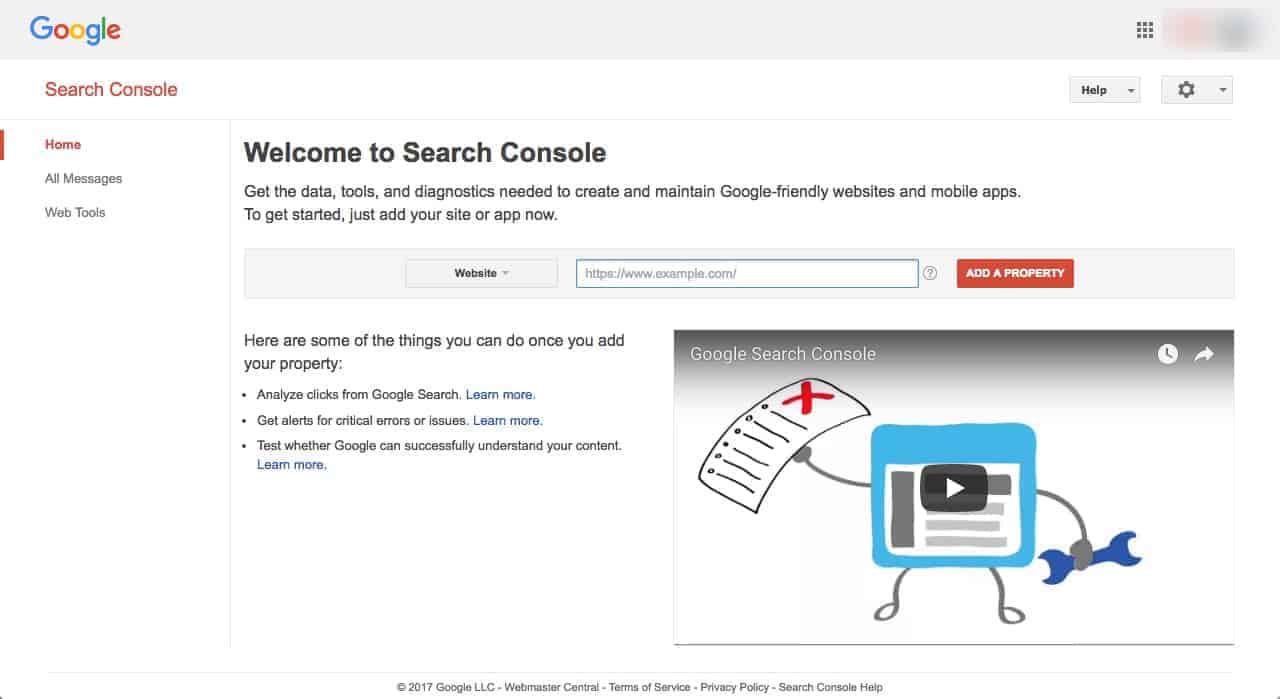
To set up your site in Google Search Console, visit https://www.google.com/webmasters/tools/ and sign into your Google Account. Once you’re signed in, you can add your website. Once you’ve added the site to your dashboard, you’ll be asked to verify ownership of the website.
There are several options. The first option is to add a record to your DNS. This method is not one of the easiest, so make sure you click on the alternate methods tab. Under alternate methods, the easier method is to pick Google Analytics (assuming you’ve just set this up). Make sure you’re still logged into Google Analytics, and then click “Verify” in Google Search Console. Google will check to see if you have the necessary permission to claim the site, and as long as everything is correct, you’ll get a message in a couple of seconds if it was successful. If it wasn’t successful, it will also let you know what needs to be fixed.
The advantage to having Google Search Console set up is now you can submit sitemaps to Google, monitor search traffic (what pages and what queries are getting clicked on the most), monitor backlinks coming to your site, markup the site, and more!
Monetizing Your Site
Once your website is created (platform and hosting chosen), and added to Google Analytics and Google Search Console, the next step for many people is to start monetizing their site. While it’s not essential, most people like to get a return on the work they do.
There are several methods available to make money with your website. One of the most popular options is to sign up for Google Adsense. Google Adsense will place ads on your site that they deem to be relevant to your website visitors. Then, if people click on your ads, Google will pay you a small commission for having the ad on your site. This method only works if you have a lot of traffic coming to your website, and if you do have a lot of traffic, there are better methods to use to monetize your site.
One method is affiliate marketing. If you haven’t heard of affiliate marketing before, basically you sign up through a program and for every customer you refer, you receive a monetary commission. Some of the more popular programs include Amazon Associates, Jvzoo, and ShareASale. Usually, you create a website around a niche (or niches) and feature products from the platforms.
Another method is to create your own products. By doing this, you own the product and the distribution. The product can be centered around whatever niche you prefer and can be a report, case study, lesson, video series, workbook, template, etc. In addition, it can be a physical product too, so shirts, hats, homemade items, etc. are all good ideas as well. You are only limited by your creativity.
If you choose this method, you will need to have software to sell products through your website. Some popular options include Shopify, Gumroad, and Sellfy. Another distribution method is to use an affiliate network to promote your products. This can be an easy way to acquire buyer-ready traffic, and increase the likelihood of selling more products.

Some other methods include selling ad space on your website directly to a person or company, selling the entire website and domain to another company, ask for donations from visitors, sell leads to another company and much more. Within some guidelines, you are only limited by your creativity. It’s very easy to create a website, and once that website is created, there are many different ways to start making money from your site.
Is there anything else that you think should be included when building your website? Let me know in the comments. If you enjoyed this content, sign up below to be notified when I publish new content!


0 Comments